Low-Impact HIIT Workout Guide: Protect Your Joints
By Simple HIIT Timer Team · October 13, 2026
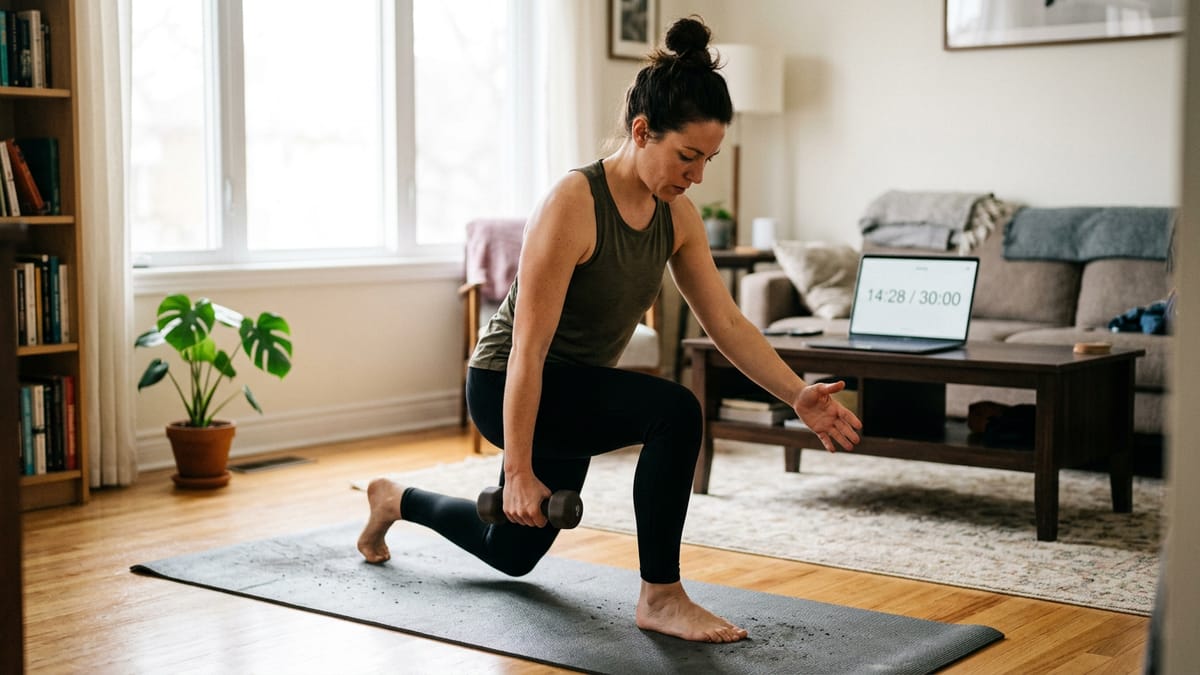
High-intensity interval training is famous for burpees, box jumps, and endless sprinting. Because of this, many people assume that if a workout does not leave you pounding the floor, it cannot possibly be high intensity. But high intensity refers to your heart rate and your cardiovascular effort, not the amount of impact your joints endure. You can achieve an exceptional cardiovascular workout, build muscular endurance, and burn calories without your feet ever leaving the ground simultaneously.
The Myth of High Impact
Impact is simply the force generated when your body meets the ground. Plyometric exercises like jump squats and high knees create significant impact forces that travel through your ankles, knees, hips, and lower spine. While this can be beneficial for building bone density and explosive power in some athletes, it is not a strict requirement for cardiovascular fitness.
A low-impact exercise is defined as any movement where at least one foot remains in contact with the ground at all times. By substituting explosive jumps with rapid, full-range, low-impact movements, you can drive your heart rate into the necessary high-intensity zones while preserving your joint health. Your cardiovascular system does not know whether you are jumping over a box or performing rapid step-back lunges; it only knows the metabolic demand you are placing on your muscles.
Why Choose Low-Impact Intervals?
There are several compelling reasons to incorporate low-impact routines into your training schedule, regardless of your current fitness level.
- Joint Preservation: If you deal with chronic knee, hip, or lower back discomfort, eliminating the shock of landing can help you train consistently without flare-ups.
- Apartment Friendly: If you live on an upper floor, low-impact workouts allow you to train at high intensities without disturbing your neighbors with loud thuds and jumping noises.
- Active Recovery: Advanced athletes can use low-impact interval days to maintain cardiovascular conditioning while giving their central nervous system and joints a break from heavy lifting or high-impact sports.
- Beginner Accessibility: For those returning to exercise or carrying extra body weight, low-impact movements provide a safer, more sustainable entry point to high-intensity training.
Understanding the 40/20 Protocol
When you remove jumping from a workout, it can sometimes take slightly longer for your heart rate to climb to its peak. Traditional 20-second work intervals, like those used in Tabata, are incredibly effective for explosive movements, but they can feel too short when you are relying on strict, low-impact exercises.
This is why a 40/20 ratio is ideal for low-impact training. Working for 40 seconds provides enough time under tension to elevate your heart rate and fatigue the working muscles. The 20-second rest period is just long enough to catch your breath and reset your posture for the next movement, without allowing your heart rate to drop completely back to baseline. You can easily set this up using our exercise timer, which is pre-configured for this exact work-to-rest ratio.
Measuring Intensity: The RPE Scale
Because you cannot rely on the sharp, burning sensation of high-impact landings to tell you how hard you are working, you must rely on your Rate of Perceived Exertion (RPE). RPE is a scale from 1 to 10, where 1 is sitting on the couch and 10 is an all-out sprint for your life.
During the 40-second work intervals of a low-impact HIIT routine, you should aim for an RPE of about 7 or 8. You should be breathing heavily, sweating, and finding it very difficult to speak in full sentences. If you finish a 40-second interval and feel like you could easily hold a conversation, you need to increase the speed of your movement, deepen your range of motion, or engage your muscles more forcefully.
The Full-Body Low-Impact Workout Plan
This routine uses five distinct movements designed to target your lower body, upper body, and core, while keeping your heart rate elevated. You will perform each movement for 40 seconds, rest for 20 seconds, and cycle through the entire list twice for a complete 10-round workout.
| Round | Exercise | Work Time | Rest Time |
|---|---|---|---|
| 1 & 6 | Bodyweight Squat to Calf Raise | 40 seconds | 20 seconds |
| 2 & 7 | Low-Impact Step-Back Burpees | 40 seconds | 20 seconds |
| 3 & 8 | Alternating Reverse Lunges | 40 seconds | 20 seconds |
| 4 & 9 | Skater Steps (No Jump) | 40 seconds | 20 seconds |
| 5 & 10 | Plank Shoulder Taps | 40 seconds | 20 seconds |
Step-by-Step Movement Guide
Form is crucial, especially when you are moving quickly. Here is exactly how to execute each movement in the circuit safely and effectively.
1. Bodyweight Squat to Calf Raise
This movement targets your quads, glutes, and calves, mimicking the extension of a jump without the landing. Stand with your feet shoulder-width apart. Keep your chest up and push your hips back as if sitting in a chair. Lower yourself until your thighs are parallel to the floor, or as low as your mobility allows. Drive through your heels to stand back up. As you reach the top of the movement, continue the momentum by pressing up onto the balls of your feet, squeezing your calves. Lower your heels back to the floor and immediately descend into the next squat. Move at a brisk pace to keep your heart rate climbing.
2. Low-Impact Step-Back Burpees
Burpees do not require a jump to be exhausting. Begin in a standing position. Hinge at your hips and bend your knees to place both hands firmly on the floor in front of you. Instead of jumping your feet back, step your right foot back into a plank position, followed immediately by your left foot. You should now be in a strong, straight-arm plank. Squeeze your core to prevent your hips from sagging. Step your right foot back up toward your right hand, then bring your left foot up. Stand up completely and squeeze your glutes at the top. To increase the intensity, simply step backward and forward as rapidly as possible.
3. Alternating Reverse Lunges
Reverse lunges are generally friendlier on the knees than forward lunges because they make it easier to keep your center of gravity balanced and prevent your front knee from sliding too far over your toes. Stand tall with your feet together. Take a large step backward with your right foot. Lower your hips directly downward until both knees form a 90-degree angle. Your back knee should hover just an inch or two above the ground. Drive through your front heel to stand back up, bringing your right foot forward to the starting position. Alternate legs with each repetition. Keep your torso upright and your core braced throughout the 40 seconds.
4. Skater Steps (No Jump)
This lateral movement challenges your balance and targets the muscles on the outside of your hips and thighs. Stand with your feet hip-width apart. Take a wide step to the right with your right foot. As your right foot lands, sweep your left leg behind your right leg, tapping your left toes to the floor just behind your right heel. Simultaneously, swing your left arm across your body for balance. Immediately step out wide to the left with your left foot, sweeping your right leg behind you. To raise the intensity, sink lower into a semi-squat position while you perform the side-to-side steps, and move your arms vigorously.
5. Plank Shoulder Taps
This movement builds core stability, shoulder endurance, and anti-rotational strength. Start in a strong push-up plank position with your hands directly under your shoulders. Widen your feet slightly more than hip-width apart to create a stable base. Brace your abdominal muscles as if you are preparing to take a punch to the stomach. Lift your right hand off the floor and quickly tap your left shoulder, then return your right hand to the floor. Lift your left hand and tap your right shoulder. The primary goal is to keep your hips completely still; do not let your torso rock side to side as you lift your hands. If this is too difficult, you can perform the movement with your knees resting on the floor.
Structuring Your Session: Warm-Up and Cool-Down
Even though this routine is low impact, your muscles and connective tissues still require proper preparation. Never skip the warm-up, especially before interval training.
Spend five minutes performing dynamic stretches. Start with two minutes of light marching in place, gradually lifting your knees higher. Follow this with ten arm circles forward and ten backward. Perform ten bodyweight hip hinges, pushing your glutes backward to stretch your hamstrings. Finish the warm-up with a few slow, deliberate repetitions of the exercises in the circuit so your body understands the movement patterns before the timer starts.
Once you finish the final round of the workout, do not immediately sit down. Spend three to five minutes walking slowly around the room to allow your heart rate to gradually return to normal. Follow this with static stretching, focusing on your quads, hamstrings, and calves. Holding a gentle forward fold and a standing quad stretch for 30 seconds each will aid in recovery and maintain flexibility.
Progressive Overload in Low-Impact Training
As you get fitter, this routine will begin to feel easier. To continue making progress without resorting to jumping, you must apply progressive overload. You can do this in three main ways:
- Increase Speed: Try to perform more repetitions within the 40-second work window without sacrificing your form.
- Increase Depth: Squat deeper, lunge lower, and take wider steps during the skater movements. Greater range of motion requires more muscular effort.
- Add Resistance: Once bodyweight movements feel too easy, hold a pair of light dumbbells or a kettlebell during the squats and lunges to increase the cardiovascular and muscular demand.
Safety Considerations
While low-impact training reduces joint stress, it still requires physical exertion. Always prioritize proper form over speed. If you feel sharp pain in any joint, stop the movement immediately. Scaling workouts for your current fitness level is the smartest way to train long-term. If you have existing medical conditions, are pregnant, or are recovering from a recent injury, always check with a doctor or physical therapist before starting a new interval training routine. Hydrate well before, during, and after your session, and ensure your workout space is clear of tripping hazards.
By utilizing the 40/20 interval structure, you can push your cardiovascular system to its limits, build functional strength, and protect your joints for the long haul. Load up the timer, focus on your form, and discover how challenging low-impact training can truly be.
Frequently asked questions
Can you really lose weight with low-impact HIIT?
Yes, weight loss is primarily driven by a caloric deficit. Low-impact HIIT supports this by burning calories and improving metabolic health without placing excessive strain on your joints.
How many days a week should I do low-impact HIIT?
Aim for two to three sessions per week. Even without high impact, interval training taxes your cardiovascular and central nervous systems, so allow 48 hours of recovery between intense sessions.
Is low-impact the same as low-intensity?
No. Low-impact simply means at least one foot stays on the ground, minimizing joint stress. You can still push your cardiovascular system to a very high intensity by moving quickly and engaging large muscle groups.
What is the best timer ratio for low-impact exercises?
A 40-second work and 20-second rest ratio works exceptionally well. The slightly longer work period gives your heart rate time to climb without relying on explosive, high-impact movements.
Use this timer
Start the Full body: 40s / 20s timer — 40s work / 20s rest × 10 rounds. It runs in your browser with sound cues, and there is nothing to install.