The Resistance Band Interval Workout for Home Strength
By Simple HIIT Timer Team · November 14, 2026
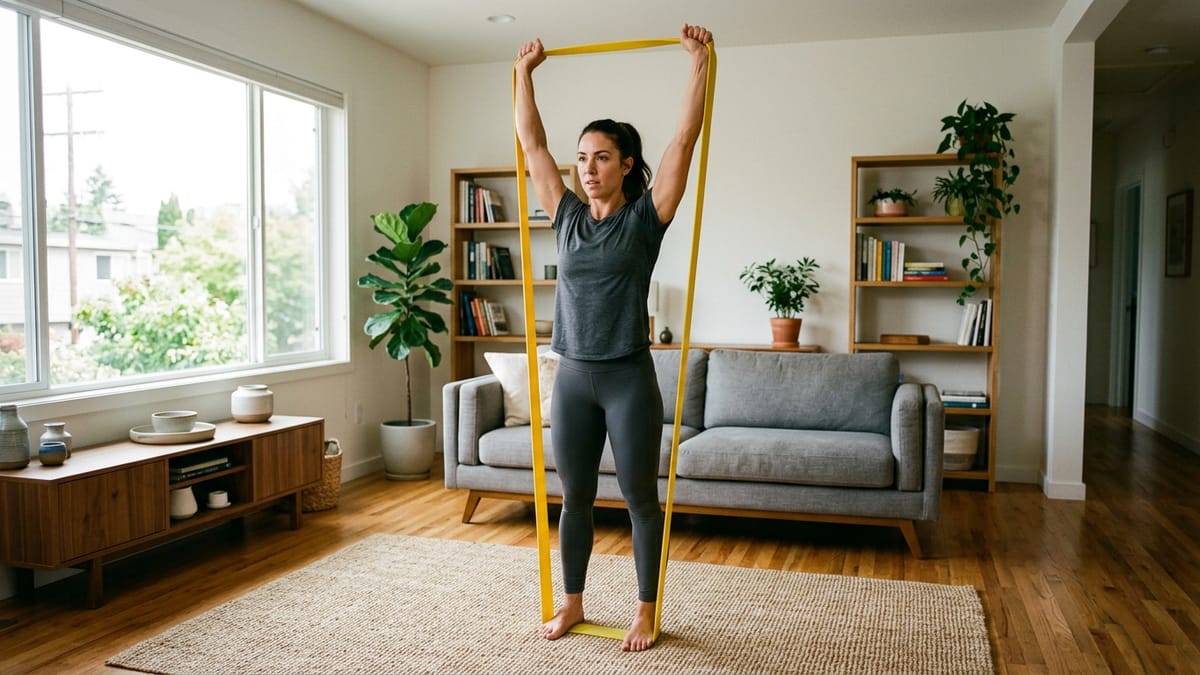
Resistance bands offer a unique advantage for home training. Unlike free weights, which rely entirely on gravity, bands provide continuous, variable tension throughout the entire range of motion. When you pair this constant tension with a structured interval protocol, you create a highly efficient workout that builds muscle, improves muscular endurance, and elevates your heart rate. This resistance band interval workout requires minimal space and equipment, making it an ideal solution for training at home or while traveling.
The Power of Variable Tension
Variable tension refers to the way a resistance band stretches. As you pull or push against the band, the resistance increases. This means the movement is hardest at the peak of the contraction, precisely where your muscles are most engaged. This concept, known as accommodating resistance, forces you to accelerate through the movement, building explosive power and maximizing muscle fiber recruitment. Free weights often have dead zones at the top or bottom of a lift where the joint is stacked and the muscle rests. Bands eliminate these dead zones. You have to fight the band on the concentric (lifting) phase and control it on the eccentric (lowering) phase. If you let the band snap you back to the starting position, you lose half the benefit of the exercise. Controlling the negative phase builds significant strength and creates the metabolic stress necessary for muscle growth.
Structuring the 45/15 Interval Routine
To get the most out of resistance bands, time-based intervals often work better than traditional rep counts. Counting reps can cause you to rush through the movement to finish the set. Using a timer forces you to focus on the quality of the movement and time under tension. For this routine, you will use a 45-second work period followed by a 15-second transition period. Forty-five seconds is long enough to accumulate 15 to 20 controlled repetitions, depending on your tempo. The 15-second rest is short, but because you do not have to strip weight plates or adjust heavy equipment, it provides exactly enough time to step on the band and get into position for the next exercise. You can set this up easily using an online circuit timer. The preset handles the timing automatically, allowing you to focus entirely on your form.
Workout Summary
| Station | Exercise | Target Area |
|---|---|---|
| 1 | Banded Front Squats | Quads and Glutes |
| 2 | Banded Bent-Over Rows | Back and Biceps |
| 3 | Standing Banded Chest Press | Chest and Triceps |
| 4 | Banded Romanian Deadlifts | Hamstrings and Lower Back |
| 5 | Banded Overhead Press | Shoulders |
| 6 | Banded Pallof Press | Core and Obliques |
The Resistance Band Interval Workout Plan
This is a full-body circuit consisting of six stations. You will complete all six exercises in order, resting only during the 15-second transition windows. After completing one full circuit, rest for 60 to 90 seconds. Aim for three to four total rounds.
Station 1: Banded Front Squats
- Target: Quadriceps, glutes, and core.
- Setup: Stand on the center of a continuous loop resistance band with your feet shoulder-width apart. Pull the top of the band up and rack it across the front of your shoulders, crossing your arms to hold it in place if necessary.
- Execution: Keeping your chest up and your core braced, push your hips back and bend your knees to lower into a squat. Lower yourself until your thighs are at least parallel to the floor. Drive through your mid-foot and heel to stand back up, squeezing your glutes at the top.
- Form Check: Ensure the band does not pull your chest forward. Your torso should remain as upright as possible.
Station 2: Banded Bent-Over Rows
- Target: Latissimus dorsi, rhomboids, and biceps.
- Setup: Step on the band with both feet, placing them hip-width apart. Hinge forward at the hips, keeping your back completely flat and your knees slightly bent. Grab the band lower down the loop to create more starting tension.
- Execution: Pull the band upward, driving your elbows toward the ceiling and squeezing your shoulder blades together. Pause for a brief second at the top of the movement, then slowly lower the band back to the starting position.
- Form Check: Keep your elbows tucked close to your body. Do not use momentum to jerk the band upward; the movement should be controlled and deliberate.
Station 3: Standing Banded Chest Press
- Target: Pectorals, anterior deltoids, and triceps.
- Setup: Anchor the band securely to a sturdy door or heavy piece of furniture at chest height. Stand facing away from the anchor point, holding one end of the band in each hand. Step forward until the band is taut.
- Execution: Stagger your stance for stability. Press the band straight out in front of your chest until your arms are fully extended. Slowly return your hands to the starting position, resisting the pull of the band as it stretches back toward the anchor.
- Form Check: Avoid letting your shoulders shrug upward. Keep your chest proud and your shoulder blades pinned down and back.
Station 4: Banded Romanian Deadlifts
- Target: Hamstrings, glutes, and lower back.
- Setup: Stand on the band with your feet hip-width apart. Hinge at the hips to reach down and grab the band. To increase the tension, grab the band closer to your feet rather than at the top of the loop.
- Execution: Keeping your legs mostly straight with just a slight bend in the knees, drive your hips forward to stand up tall. Squeeze your glutes powerfully at the top. Hinge your hips backward to slowly return to the stretched position.
- Form Check: Your back must remain completely flat. The movement comes entirely from the hips, not the lower back. You should feel a deep stretch in your hamstrings at the bottom of the movement.
Station 5: Banded Overhead Press
- Target: Shoulders and triceps.
- Setup: Stand on the band with feet shoulder-width apart. Bring the top of the band up to shoulder height, palms facing forward.
- Execution: Brace your core tightly and press the band directly overhead until your arms are fully extended. Lower the band under control back to the front of your shoulders.
- Form Check: Do not arch your lower back as you press. If you find yourself leaning back excessively, drop down to a lighter band or perform the exercise seated.
Station 6: Banded Pallof Press
- Target: Core, obliques, and stabilizers.
- Setup: Anchor the band at chest height. Stand sideways to the anchor point, holding the band with both hands against the center of your chest. Step away from the anchor until there is significant tension trying to pull your torso toward it.
- Execution: Press the band straight out in front of your chest. As the band moves further from your body, the rotational force increases. Hold for two seconds at full extension, then slowly return your hands to your chest.
- Form Check: Your hips and shoulders must remain perfectly square. Do not allow the band to rotate your torso. Switch sides halfway through the 45-second interval, or alternate sides on each round.
Selecting the Right Resistance Bands
For this workout, continuous loop bands, often called pull-up assist bands, are highly recommended. They are incredibly durable and versatile. Tube bands with handles can also work, but loop bands tend to be easier to grip for heavy lower-body movements like squats and deadlifts. Start with a medium-tension band. Because you are working for 45 seconds, muscular fatigue will set in quickly. It is always safer to start slightly lighter and focus on pristine execution and maximizing the time under tension.
Warm-Up and Cool-Down Guidelines
Never start a resistance workout cold. A proper warm-up increases blood flow to the muscles and lubricates the joints, significantly reducing the risk of injury. Spend five minutes performing dynamic movements such as arm circles, high knees, bodyweight squats, and lunges. You can also do a primer round using a very light band, performing five reps of each exercise in the circuit to groove the movement patterns. After completing your intervals, take five minutes to cool down. Perform static stretches targeting the chest, hamstrings, and quads. This helps reduce muscle stiffness and kickstarts the recovery process.
Progression Strategies for Continuous Gains
To continue seeing results over time, you must progressively overload your muscles. With free weights, you simply add more plates. With resistance bands, you have several options. The simplest method is to use a thicker band with a higher tension rating. Alternatively, you can change your grip to pre-stretch the band, creating more tension from the very bottom of the movement. Another highly effective progression strategy is to incorporate isometric holds. For example, during the banded row, hold the band at the point of maximum contraction for a full three seconds before lowering it. This drastically increases the difficulty without requiring a heavier band. Finally, you can adjust the timer. If 45 seconds begins to feel easy, you can increase the work period to 50 seconds or reduce the rest period to 10 seconds. Always ensure that your form remains excellent before increasing the difficulty of the workout.
Frequently asked questions
Can you build muscle with resistance bands?
Yes, resistance bands provide the mechanical tension and progressive overload required for muscle hypertrophy, especially when using controlled eccentric movements.
Which type of resistance band is best for interval training?
Continuous loop bands (often used for pull-up assistance) are incredibly durable and versatile for fast-paced, full-body interval circuits.
How often should I perform this resistance band circuit?
Aim for two to three non-consecutive days per week. This allows your muscles adequate time to recover and rebuild between training sessions.
Are resistance bands safe for beginners?
Yes, bands are generally very safe and joint-friendly. Always inspect your bands for small tears before use and avoid stretching them past twice their resting length to prevent snapping.
Use this timer
Start the 45s station / 15s move timer — 45s work / 15s rest × 12 rounds. It runs in your browser with sound cues, and there is nothing to install.