Rowing Machine Interval Training: A Full-Body HIIT Guide
By Simple HIIT Timer Team · October 15, 2026
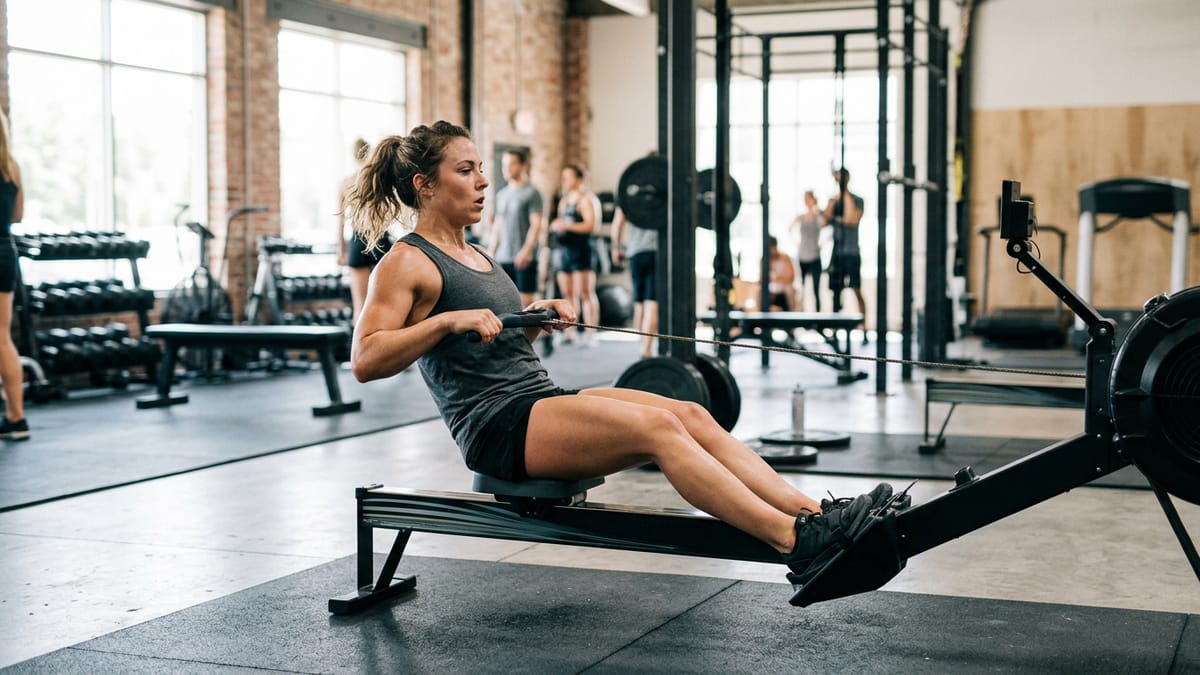
Walk into almost any gym, and you will likely see the indoor rowing machines sitting empty while the treadmills and elliptical trainers are packed with people. But the rowing machine—often called an ergometer or erg—is one of the most effective tools available for cardiovascular fitness and full-body conditioning. Because rowing requires you to push with your legs and pull with your upper body, it engages roughly 86 percent of your muscles in a single continuous movement.
While steady-state rowing is excellent for building an aerobic base, adding high-intensity intervals to your routine forces your body to adapt to greater demands, improving your anaerobic capacity and building muscular endurance. By utilizing a hiit interval timer, you can structure these intense bursts of effort, allowing you to focus entirely on your form and power output rather than constantly doing math in your head or staring at the console.
The Anatomy of the Perfect Rowing Stroke
Before attempting any high-intensity intervals, it is vital to master your rowing mechanics. Rowing is not simply pulling a handle toward your chest as fast as you can. It is a precise sequence of movements. A proper stroke is roughly 60 percent legs, 30 percent core, and 10 percent arms. Think of it less as a pull and more as a horizontal deadlift or jump.
The Catch
This is your starting position. Slide forward on the seat until your shins are nearly vertical. Your arms should be fully extended, gripping the handle loosely but securely. Your shoulders should be relaxed, sitting just in front of your hips, and your back should be flat, not hunched. Your heels might lift slightly off the foot stretchers depending on your ankle mobility, which is perfectly fine.
The Drive
The drive is the work phase of the stroke, and it begins exclusively with your lower body. Push hard against the footplates, driving your legs straight back. Your arms remain straight, and your back remains in its forward-leaning angle. As your legs approach full extension, hinge your torso backward from the hips until you are leaning slightly back. Finally, once your torso is engaged, pull the handle aggressively into your lower chest.
The Finish
At the end of the drive, your legs are fully extended, your torso is leaning slightly backward, and the handle is pulled into your sternum. Your elbows should be drawn back past your torso, with your wrists relatively flat. This position requires core engagement to stabilize your body.
The Recovery
The recovery is simply the drive in reverse. It is the time to breathe and reset for the next stroke. First, extend your arms fully toward the flywheel. Next, hinge your torso forward from the hips. Only after your hands have passed over your knees should you allow your knees to bend, sliding the seat forward back into the catch position. Rushing the recovery is a common mistake; take your time to slide back smoothly.
Setting Up Your Machine
One of the most misunderstood features of the rowing machine is the damper setting—the lever on the side of the flywheel. Many beginners sit down and instantly crank the damper to 10, assuming it functions like a difficulty dial. In reality, the damper acts more like the gears on a bicycle.
A higher setting allows more air into the flywheel housing, causing it to slow down faster on the recovery. This requires you to apply more force on the next stroke to get it spinning again, much like pedaling a heavy gear up a hill. A lower setting allows less air in, keeping the flywheel spinning longer, which feels like a lighter, faster gear. For almost all interval training, you should keep the damper set between 3 and 5. This provides the optimal balance of cardiovascular demand and muscular resistance without placing undue strain on your lower back.
Metrics to Watch: Split Time and Stroke Rate
When you row, the machine's monitor provides a wealth of data. The two most important numbers for interval training are your split time and your stroke rate.
Your split time is an estimate of how long it takes you to row 500 meters at your current pace. It is a measure of power and efficiency. A lower split time means you are pulling harder and moving faster. During the work intervals, your goal is to push your split time down and hold it steady.
Your stroke rate, measured in strokes per minute (SPM), tells you how fast you are moving back and forth on the slide. A common error is assuming that a higher stroke rate automatically equals a faster split time. Instead of frantically rushing up and down the rail at 35 SPM, focus on pushing harder with your legs during the drive and taking a controlled recovery. For most high-intensity intervals, a stroke rate between 26 and 32 SPM is ideal.
Rowing Machine Interval Workouts
Here are three structured interval routines to incorporate into your training. Before beginning any of these workouts, complete a 5-minute warm-up consisting of easy, steady rowing to elevate your heart rate, followed by dynamic stretches for your hips, hamstrings, and shoulders.
Workout 1: The 1-Minute Sprints
This routine uses an equal work-to-rest ratio, making it an excellent introduction to rowing intervals. The goal is to maintain a consistent, powerful split time across every single round. Set your hiit interval timer for 1 minute of work and 1 minute of rest.
- Work Phase (60 seconds): Row at a challenging but sustainable pace. Aim for a stroke rate around 28 to 30 SPM. Focus on explosive leg drives.
- Rest Phase (60 seconds): Do not stop moving completely. Row at a very light, easy pace to keep the blood flowing and flush lactic acid from your muscles.
- Rounds: Complete 10 rounds for a total of 20 minutes.
If you want to try this routine, you can load up our 1 min on / 1 min off timer to track your sets automatically.
Workout 2: The 30/30 Power Intervals
As you get more comfortable on the erg, you can increase the intensity of the work phase. Because the work intervals in this routine are shorter, you should aim for a significantly faster split time than you held in Workout 1.
- Work Phase (30 seconds): Sprint pace. Pull hard and fast, aiming for a stroke rate of 30 to 32 SPM. This should feel like an all-out effort by the final few rounds.
- Rest Phase (30 seconds): Complete rest or very light paddling.
- Rounds: Complete 12 to 15 rounds depending on your fitness level.
Use our 30s on / 30s off interval timer to keep yourself accountable. It is incredibly tempting to take a few extra seconds of rest when your lungs are burning, but the timer will keep you disciplined.
Workout 3: The Distance EMOM
EMOM stands for Every Minute on the Minute. This format challenges you to complete a specific amount of work within a 60-second window. The faster you finish the work, the more rest you get before the next minute begins.
- The Setup: Set your timer for a 10-minute EMOM format.
- The Goal: Row 150 meters (for advanced rowers) or 100 meters (for beginners) at the start of every minute.
- The Execution: If it takes you 40 seconds to row the distance, you have 20 seconds of rest before the next minute starts. If you start slowing down and it takes you 50 seconds, you only get 10 seconds of rest.
You can use our EMOM timer to easily track the minute-by-minute transitions for this brutal cardiovascular challenge.
Safety and Precautions
While the rowing machine is low-impact and generally safe for your joints, poor form can lead to injuries, particularly in the lower back. Never sacrifice your posture for speed. Keep your core tight, hinge from the hips, and avoid rounding your spine during the catch phase. If you feel pain—not just muscle fatigue, but sharp or lingering pain—stop immediately.
If you are new to exercise, returning from an injury, or have any underlying medical conditions, check with a doctor before beginning a high-intensity interval training program. Scale the workouts to your current fitness level by adjusting the target distances, reducing the number of rounds, or taking longer rest periods if needed. The goal is progressive improvement over time, not pushing yourself to exhaustion on day one.
Cooling Down
After your final interval, do not simply unstrap your feet and walk away. Spend at least 3 to 5 minutes rowing at a very relaxed, easy pace. This active recovery period helps gradually lower your heart rate and promotes the clearance of metabolic byproducts from your legs. Finish your session with static stretching, focusing heavily on your glutes, hamstrings, calves, and lats.
Rowing machine intervals offer a highly efficient way to build power, stamina, and mental toughness. By mastering your technique and utilizing a structured timer to govern your work and rest periods, you can turn the most underutilized machine in the gym into your ultimate conditioning tool.
Frequently asked questions
Is the rowing machine good for burning fat?
Yes. Because rowing engages your full body, it burns a high number of calories per minute compared to exercises that only isolate the lower body. Combined with a balanced diet, interval rowing is highly effective for improving body composition.
How often should I do rowing intervals?
For most people, incorporating high-intensity rowing intervals two to three times a week is plenty. This allows adequate time for your muscles to recover and prevents central nervous system fatigue.
Why does my lower back hurt after rowing?
Lower back pain from rowing is almost always caused by poor form, specifically rounding the back during the catch or driving with the torso before the legs are extended. Focus on hinging from the hips and keeping your spine straight.
Should I wear running shoes on the rowing machine?
Running shoes with thick, squishy soles can absorb some of the power from your leg drive. Cross-training shoes, weightlifting shoes, or any athletic shoe with a relatively flat and firm sole will provide better power transfer.
Use this timer
Start the 1 min on / 1 min off timer — 60s work / 60s rest × 10 rounds. It runs in your browser with sound cues, and there is nothing to install.