The 10-Minute Foam Rolling Routine for Muscle Recovery
By Simple HIIT Timer Team · November 3, 2026
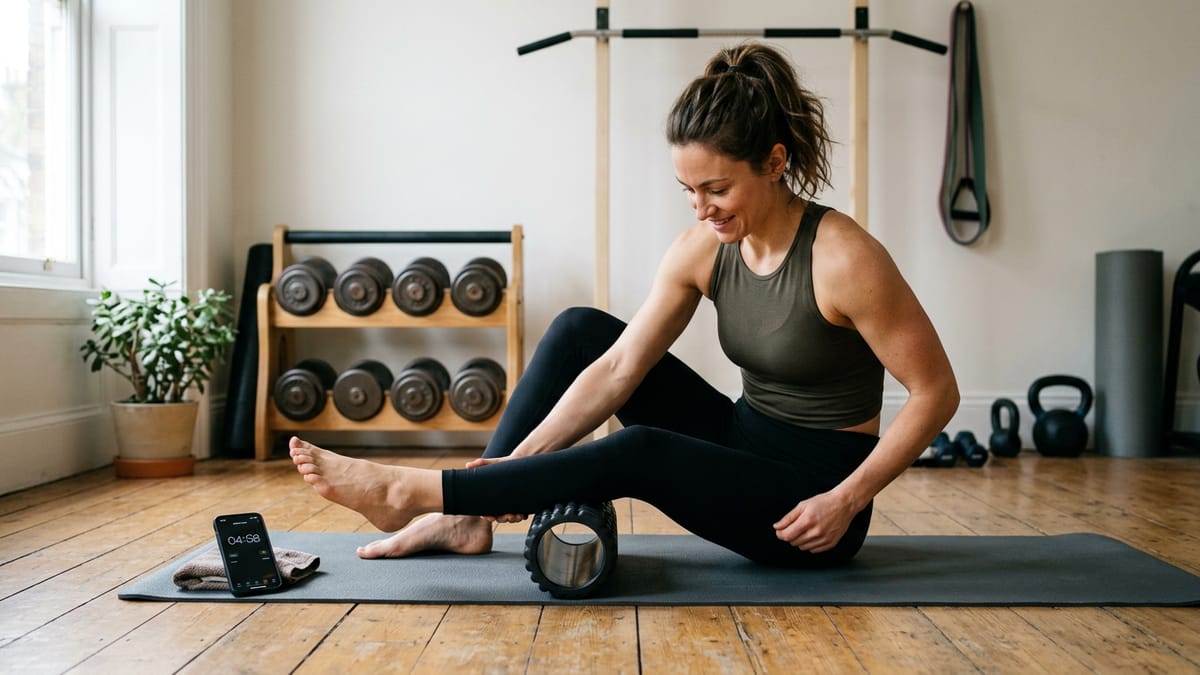
Most people treat foam rolling as an afterthought. You finish a hard training session, drop to the gym floor, aggressively roll back and forth over your quadriceps for twenty seconds, and pack up your bag. While this rapid-fire rolling might feel like you are doing something productive, it does very little to actually release muscle tension or improve your tissue quality.
To genuinely benefit from foam rolling, you need sustained, deliberate pressure. This is where using a dedicated timer for workout recovery becomes a game-changer. By following a structured interval protocol, you force yourself to slow down, breathe, and give your nervous system the time it needs to signal your muscles to relax. In just ten minutes, you can perform a full-body self-myofascial release routine that accelerates recovery and helps prevent the stiffness that sets in on your rest days.
The Science of Self-Myofascial Release
Self-myofascial release, commonly known as foam rolling, is a recovery technique used to alleviate muscle tightness, reduce delayed onset muscle soreness, and improve joint range of motion. To understand why it works, you need to understand fascia.
Fascia is a continuous web of connective tissue that wraps around every muscle, bone, nerve, and organ in your body. In a healthy state, fascia is smooth, slippery, and flexible, allowing your muscles to glide past one another seamlessly. However, heavy lifting, repetitive impact from running, poor posture at a desk, or simple dehydration can cause this fascia to become sticky and bound up. These adhesions or "trigger points" limit your mobility and can cause localized or radiating pain.
When you apply physical pressure to these trigger points using your body weight and a foam roller, you are doing more than just physically breaking up tissue. You are stimulating sensory receptors in the fascia and muscle. Sustained pressure sends a signal to your central nervous system that it is safe to reduce the resting tone of that muscle, which allows it to finally lengthen and relax.
Why You Need a Timer for Foam Rolling
The biggest mistake you can make with a foam roller is moving too fast. Rolling back and forth rapidly over a muscle does not allow enough time for the neurological release to occur. Research and physical therapy guidelines generally suggest that you need to hold pressure on a tender spot for 30 to 60 seconds to elicit a true tissue release.
Using a workout timer keeps you honest. It removes the temptation to rush through the uncomfortable spots. For this routine, we will use a 50 seconds on, 10 seconds off interval protocol. The 50-second work period provides ample time to slowly scan a muscle group, locate a trigger point, and hold the pressure while breathing deeply. The 10-second rest period is just enough time to physically transition your body into the next position.
The 10-Minute Foam Rolling Protocol
This routine targets the major muscle groups that commonly become restricted from both strenuous exercise and sedentary daily life. All you need is a standard foam roller and a comfortable patch of floor.
| Round | Target Area | Work Time | Transition |
|---|---|---|---|
| 1 | Calves (Bilateral) | 50s | 10s |
| 2 | Hamstrings (Bilateral) | 50s | 10s |
| 3 | Right Glute and Piriformis | 50s | 10s |
| 4 | Left Glute and Piriformis | 50s | 10s |
| 5 | Right Outer Thigh (Vastus Lateralis) | 50s | 10s |
| 6 | Left Outer Thigh (Vastus Lateralis) | 50s | 10s |
| 7 | Quadriceps (Bilateral) | 50s | 10s |
| 8 | Upper Back (Thoracic Spine) | 50s | 10s |
| 9 | Right Latissimus Dorsi | 50s | 10s |
| 10 | Left Latissimus Dorsi | 50s | 10s |
1. Calves (Bilateral)
Sit on the floor with your legs extended straight in front of you. Place the foam roller directly under the meaty part of your lower legs, just below the belly of the calf muscle. Place your hands on the floor behind you for support and lift your hips slightly. Slowly roll from just above the ankle up to the base of the knee. If you need more pressure, cross your left leg over your right leg to double the weight on a single calf. When you find a tender spot, stop rolling. Pin the muscle against the roller and slowly point and flex your foot to actively stretch the tissue.
2. Hamstrings (Bilateral)
Move the roller up so it rests just above the back of your knees. Keeping your hands planted behind you, roll up the length of your hamstrings until you reach the base of your glutes. The hamstrings are a large, dense muscle group, so you may need to externally and internally rotate your legs (turning your toes outward and inward) to hit all three hamstring muscles. Focus your 50 seconds on the area that feels the tightest, breathing deeply into the discomfort.
3. Right Glute and Piriformis
Sit directly on top of the foam roller. Cross your right ankle over your left knee, creating a figure-four shape with your legs. Shift your body weight so you are leaning onto your right glute cheek. Place your right hand on the floor behind you for stability. Roll in small, controlled movements across the glute, paying special attention to the deep, tender muscle in the center of the hip known as the piriformis. This area is notorious for causing hip tightness and lower back pain when bound up.
4. Left Glute and Piriformis
Use your 10-second transition to switch sides. Cross your left ankle over your right knee and lean onto your left glute. You will often find that one hip is significantly tighter than the other, especially if you favor one side when standing or carrying bags. Spend the entire 50 seconds seeking out the most restricted tissue on the left side.
5. Right Outer Thigh (Vastus Lateralis)
Lie on your right side and place the foam roller under the outside of your right thigh. You are targeting the outer portion of your quadriceps, known as the vastus lateralis, rather than the IT band itself (which is connective tissue). Support your upper body with your right forearm on the floor. Cross your left leg over in front of you, planting your left foot flat on the ground to control the amount of pressure. Slowly roll from the top of the hip down to just above the knee. This area is often excruciatingly tight for runners and heavy squatters. Move at a snail's pace.
6. Left Outer Thigh (Vastus Lateralis)
Flip over and repeat the exact same process on your left outer thigh. Keep your core engaged to prevent your lower back from sagging toward the floor. Remember that if the pain is too sharp, you can press harder into your supporting left forearm and right foot to lift some of your body weight off the roller.
7. Quadriceps (Bilateral)
Lie face down with the foam roller positioned under the front of your thighs. Support your upper body on your forearms in a plank position. Roll from the top of your hips down to just above your kneecaps. To increase the effectiveness of this movement, when you find a dense trigger point in the middle of your quads, pause the rolling. Keep the pressure on the spot and slowly bend your knees, bringing your heels toward your glutes, then straighten them back out.
8. Upper Back (Thoracic Spine)
Lie on your back with your knees bent and feet flat on the floor. Place the foam roller horizontally across your upper back, right around your shoulder blades. Support your head with your hands, keeping your elbows pulled close together to open up your shoulder blades. Lift your hips off the ground and slowly roll from the base of your neck down to the middle of your ribs. Never roll your lower back (lumbar spine), as it lacks the skeletal support of the rib cage and rolling it can cause injury to the spine.
9. Right Latissimus Dorsi
Lie on your right side with your right arm extended straight above your head along the floor. Place the foam roller directly under your armpit, resting against the lat muscle on the side of your ribs. Keep your thumb pointing toward the ceiling to externally rotate your shoulder and expose the muscle belly. Roll small distances, about two to three inches, up into the armpit and down toward the mid-ribs. The lats are heavily involved in pulling movements and posture, making this a highly productive area to release.
10. Left Latissimus Dorsi
Transition to your left side and repeat the process on the left lat. Use this final 50-second interval to focus entirely on your breathing. Deep, diaphragmatic breaths will help down-regulate your central nervous system, capping off your recovery session by signaling your body to shift from a sympathetic (fight or flight) state into a parasympathetic (rest and digest) state.
Common Foam Rolling Mistakes to Avoid
- Rolling directly over joints or bones: Always keep the foam roller on muscle tissue. Never roll directly over your kneecaps, spine, elbows, or the prominent bones of your hips. This causes unnecessary pain and can damage joint structures.
- Holding your breath: When you hit a painful trigger point, your natural instinct is to tense up and hold your breath. This completely defeats the purpose of the exercise. You must breathe deeply to signal your nervous system to relax the tissue.
- Applying too much pressure: Foam rolling should feel like a "good hurt" or a deep tissue massage. If you are in agonizing pain, your muscles will reflexively contract to protect themselves, preventing any release. Ease off the pressure by using your arms and legs to support more of your body weight.
- Rolling the lower back: As mentioned above, avoid placing the roller horizontally across your lumbar spine. If your lower back is tight, releasing your glutes, hamstrings, and upper back will often alleviate the tension without putting your lumbar vertebrae at risk.
Safety and Precautions
Always prioritize your safety when trying new recovery protocols. Warm up slightly before foam rolling if you are doing it on a completely restful day; a quick five-minute walk or gentle movement helps prepare the tissues. If you are pregnant, have vascular disease, osteoporosis, a bleeding disorder, or any acute injuries, consult with a medical professional before starting a self-myofascial release routine. Foam rolling is a tool to manage common muscular tension, not a medical treatment for structural injuries or severe pain.
By turning this 10-minute protocol into a consistent habit, you will dramatically improve your tissue quality and overall mobility. Your rest days will become more effective, your joints will move more freely, and you will be fully prepared for your next heavy training session.
Frequently asked questions
Can I foam roll every day?
Yes, gentle foam rolling can be done daily to maintain tissue mobility and improve blood flow. However, if your muscles feel acutely bruised or deeply sore from previous rolling sessions, give those specific areas a day off to recover.
Why does foam rolling hurt so much at first?
Foam rolling applies direct pressure to tight, restricted muscle tissues and trigger points, which are often highly sensitive. It should feel like a deep, productive stretch; if you experience sharp or agonizing pain, you need to reduce the pressure.
Should I foam roll before or after my workout?
You can do both. Pre-workout rolling should be performed with a faster tempo to increase blood flow and wake up the muscles, while post-workout rolling should use slower, sustained pressure to help the nervous system relax and begin the recovery process.
Use this timer
Start the 50s on / 10s off timer — 50s work / 10s rest × 10 rounds. It runs in your browser with sound cues, and there is nothing to install.